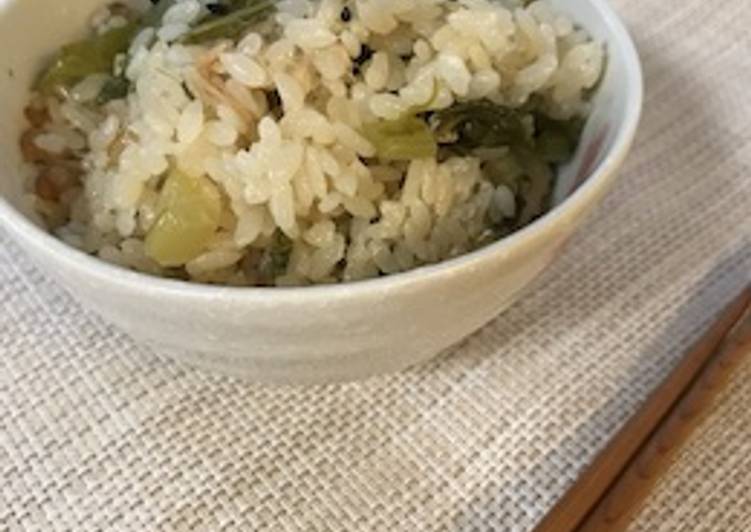
Hello everybody, it’s Brad, welcome to my recipe site. Today, I’m gonna show you how to prepare a distinctive dish, daikon radish mochi with brown sugar filling. One of my favorites food recipes. This time, I will make it a bit unique. This will be really delicious.
Daikon Radish Mochi with Brown Sugar Filling is one of the most favored of recent trending foods in the world. It’s easy, it is quick, it tastes delicious. It is appreciated by millions every day. They’re nice and they look fantastic. Daikon Radish Mochi with Brown Sugar Filling is something that I’ve loved my whole life.
This easy fried Daikon Mochi using a fresh and juicy daikon radish is a Japanese-style Chinese Turnip Cake or radish cake also known as "law bok gow." This easy fried Daikon Mochi using a fresh and juicy daikon radish is a Japanese-style Chinese Turnip Cake or radish cake also known as "law bok gow." Originally, turnip cake is steamed in a container but today we're pan-frying it to make quick and easy daikon mochi. The Best Chinese Daikon Radish Recipes on Yummly Overnight Chinese Daikon Radish PicklesBarefeet In The Kitchen.
To begin with this particular recipe, we must prepare a few ingredients. You can cook daikon radish mochi with brown sugar filling using 7 ingredients and 9 steps. Here is how you can achieve that.
The ingredients needed to make Daikon Radish Mochi with Brown Sugar Filling:
- Prepare 120 grams Grated daikon radish (with the liquid)
- Take 70 grams Shiratamako
- Take 30 grams Katakuriko
- Make ready 5 grams Raw cane sugar
- Prepare 1 tbsp Milk (if needed to adjust the texture)
- Get 100 grams Koshi-an
- Make ready 5 grams Kuromitsu
Features This homemade pumpkin mochi is filled with a sweet, buttery pumpkin filling. You can either steam them or pan-fry them for a perfect, off-beat fall dessert. While the filling cools, sift together the sweet rice flour, cornstarch, and caster sugar in a mixing bowl. Sweet & tangy pickled daikon radish recipe with a crisp crunch!
Steps to make Daikon Radish Mochi with Brown Sugar Filling:
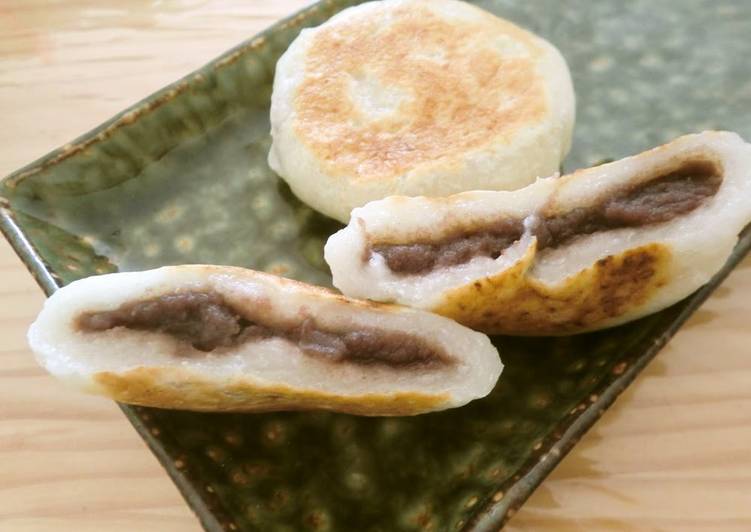
- Add the kuromitsu syrup to the koshi-an and mix. Divide into 4 to 6 portions.
- Combine the shiratamako, katakuriko and raw cane sugar. Add the grated daikon radish to this little by little.
- Depending on how much moisture is in the grated daikon radish, you may not need all of the 120 g. When the dough is about the consistency of your ear lobe, knead it well and divide into 4 to 6 pieces.
- Wrap the an filling with the dough, and pan fry them. Just wrap and form flattish cakes If you don't know how to wrap them.
- "All Year Round, Easy Uguisu Mochi" -.
https://cookpad.com/us/recipes/147287-easy-uguisu-mochi-to-enjoy-all-year-round
- Pan fry the cakes over low-medium heat for 5 minutes. When one side is browned turn the cakes over, and pan fry on the other side over low heat covered with a lid for about 8 minutes.
- When both sides are appetizingly browned and shiny, they are done.
- I made four 8 cm diameter cakes this time, but they were too big for my children, so I think 5-6 cakes would work better.
- These are still delicious when cold.
Quick & easy to make and requires no heat, just a refrigerator! I recently went to Korean BBQ with the family and was reminded of how fond I was of these sweet and crunch pickled daikon radishes. They're known by many other names, including white radish, Asian radish, Oriental radish, Chinese radish, or Japanese radish. These radishes have crisp white flesh and a.. This easy braised daikon radish recipe shows you how to make a comforting and healthy one-pot dinner in no time. paleo.
So that’s going to wrap it up for this exceptional food daikon radish mochi with brown sugar filling recipe. Thanks so much for reading. I’m sure you will make this at home. There is gonna be interesting food in home recipes coming up. Don’t forget to save this page in your browser, and share it to your loved ones, friends and colleague. Thanks again for reading. Go on get cooking!